
Camera settings
How to Make Your Footage Look Pro (DJI, GoPro & Insta360)
Learn how to make DJI, GoPro, and Insta360 footage look professional with better camera settings, Log color, LUTs, and a simple editing workflow.
You saw the ads. The footage looked insane, so you bought the camera. Then you went out, filmed your first clips, watched them back and thought… why doesn't my footage look anything like that?
It's not your camera. The DJI, GoPro, or Insta360 you already have is capable of producing incredible footage. The difference is that a lot of the footage you see in ads, YouTube videos, and professional content isn't coming straight out of the camera looking like that. It's being filmed in a way that gives the editor more control, then the final look is created afterward.
The good news is that this isn't nearly as complicated as it sounds.
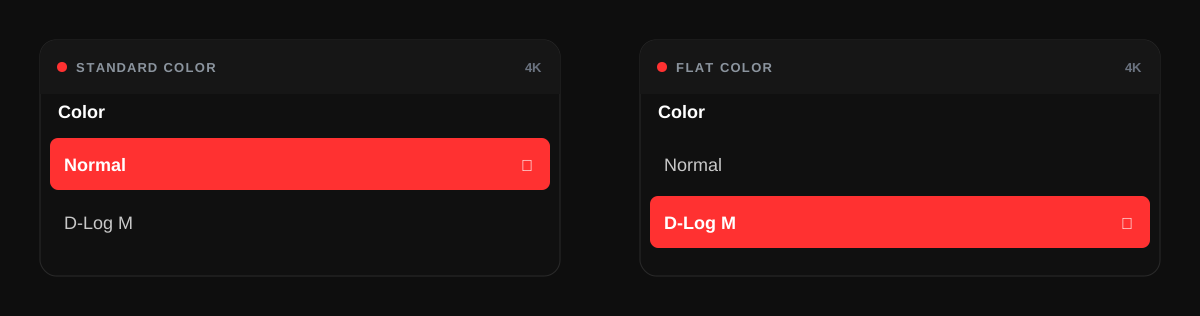
The problem with your normal camera settings
When you shoot using your action camera's standard color mode, the camera is trying to make the footage look good immediately. It adds color, contrast, sharpness, and makes decisions about how bright and dark different parts of the image should be.
That's great if your goal is to film something, transfer it to your phone, and post it immediately. But if you want more of that professional look, you want more control over those decisions.
This becomes really obvious when you're filming somewhere with a lot of bright and dark areas at the same time. Think about riding through a forest. The trail might be dark, the trees are covered in shadows, but directly above you is a super bright sky. Your camera has to somehow capture all of that at once.
If parts of that image become completely white or completely black, there's only so much you can do to fix them afterward. That's one of the reasons professionals often shoot using a flatter color profile.
Why professional footage sometimes starts out looking terrible
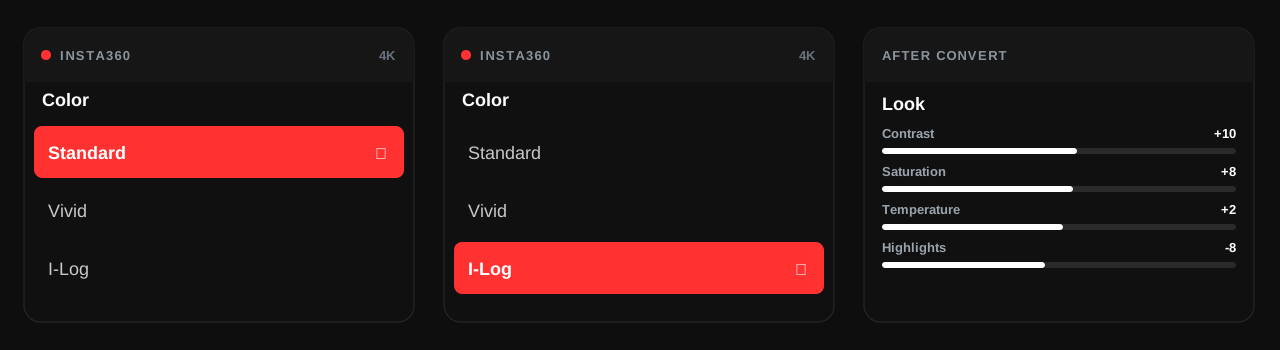
On DJI cameras, you've probably seen a setting called D-Log M. GoPro and Insta360 have their own color options that accomplish a similar goal depending on the camera.
When you turn one of these flatter profiles on, something weird happens: your footage actually looks worse.
The colors look faded. The blacks look gray. There's barely any contrast. It can look like you completely messed up your camera settings.
That's intentional.
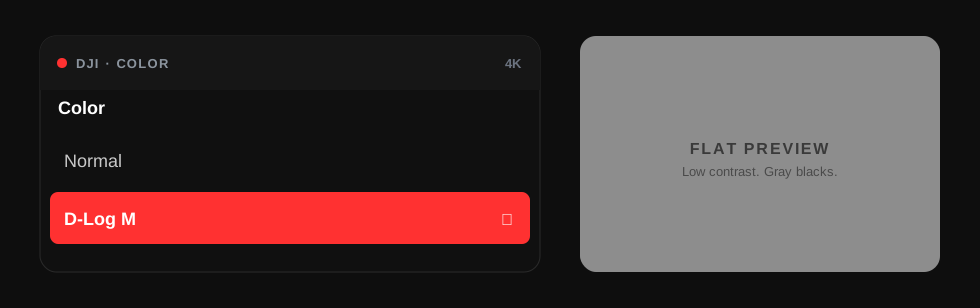
Instead of trying to give you a finished image, the camera is preserving more information for you to work with later. That means you have more freedom to control things like the highlights, shadows, contrast, colors, and overall look when you edit.
The easiest way to think about it is this: normal mode gives you the camera's finished version. Log gives you the ingredients to make your own.
Turning that gray footage back into normal footage
This is where people start throwing around terms like color spaces, gamma curves, and LUTs and make the whole process sound way more complicated than it needs to be.
For most people, there's one thing you need to understand: a conversion LUT.
A conversion LUT basically takes that flat, gray-looking footage and converts it back into a normal-looking starting point.
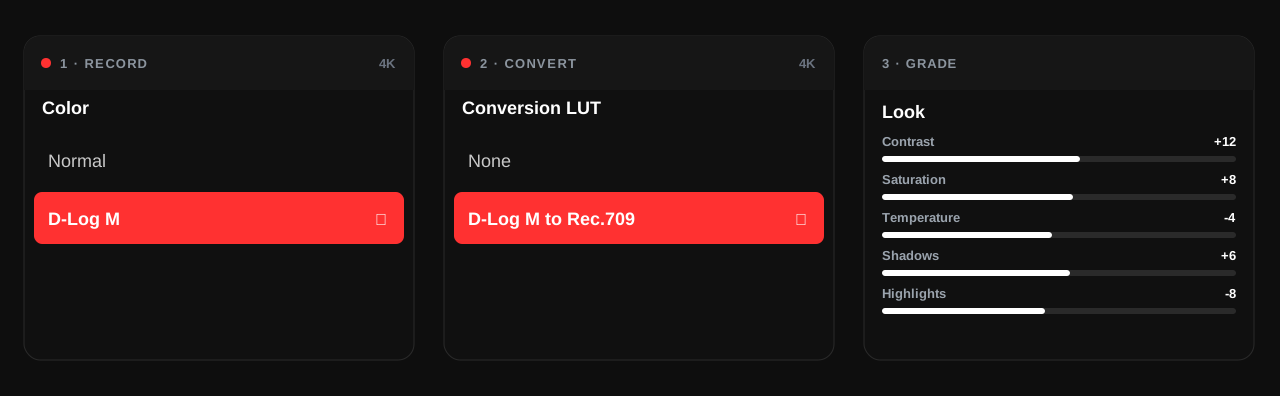
Apply the correct conversion and suddenly the contrast comes back, the colors come back, and the image starts looking normal again.
From there, you can create the actual look you want.
I might make the image a little brighter or darker, add some contrast, warm it up, cool it down, or change the saturation. Then I'll usually work on certain colors individually.
For mountain bike footage, I might want the dirt to have a little more color without making it bright orange. I want the trees to look green without making them radioactive. I want a blue sky, but I don't want it looking fake.
Those little adjustments are where you start getting away from the generic action-camera look and toward footage that actually feels finished.
And you don't need to know every professional editing term to do it. Use your eyes. If you change something and it looks better, you're moving in the right direction.
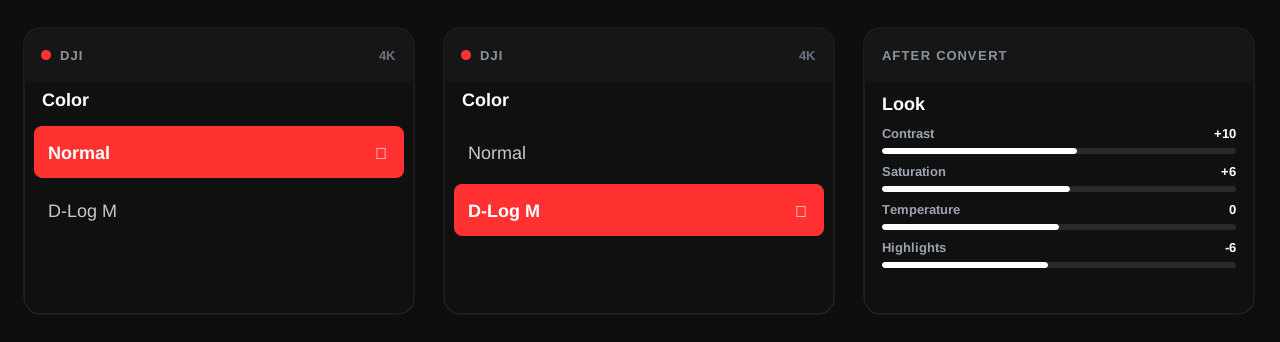
DJI: Start with D-Log M
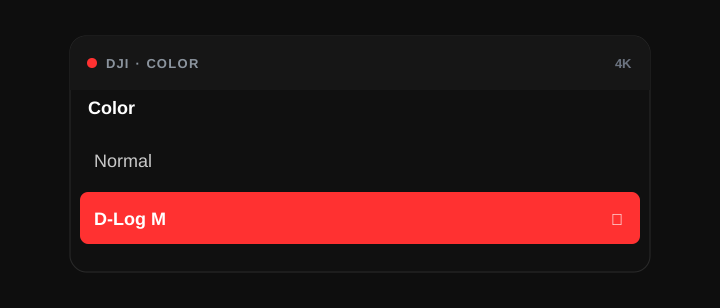
If you're using a compatible DJI action camera, look in your color settings for D-Log M.
This is the setting I'd use when I know I'm going to edit the footage afterward. It'll initially give you that flatter, washed-out image, but that's exactly what we want.
After filming, bring your clips into your editing software and convert the D-Log M footage to a normal starting point. From there, you can make your creative adjustments.
If you've never used D-Log M before, don't turn it on right before filming something important. Go outside and shoot the exact same scene twice: once with your normal color settings and once with D-Log M. Then bring both clips into your editor and play with them.
Seeing the difference yourself will make all of this make a lot more sense.
GoPro: Look for your flatter color options
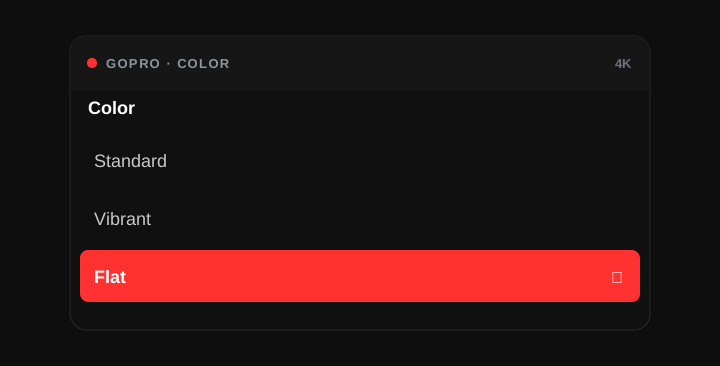
GoPro doesn't call its color profile D-Log because D-Log is DJI's terminology. Depending on which GoPro you're using, the exact color and advanced settings available to you will be different.
But the idea is the same. If your GoPro gives you a flatter or Log-style option, you're giving yourself more control over how the footage will look once you start editing it.
Instead of having all that contrast and color baked into the footage immediately, you have a better starting point for creating your own look.
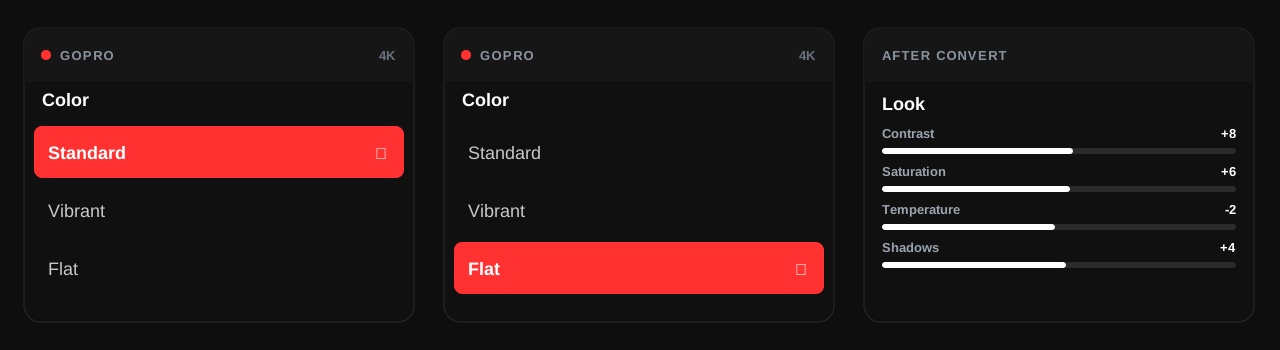
This is also why copying somebody's exact GoPro settings doesn't automatically make your footage look like theirs. The camera settings are only part of the process. What they do with that footage afterward can make an equally big difference.
Insta360: Same idea, different camera
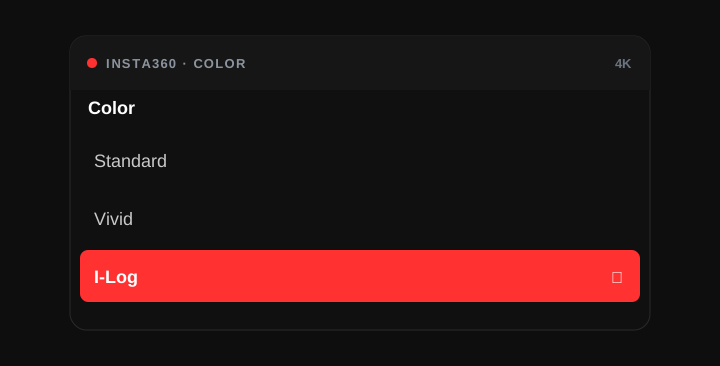
Insta360 is the same story. The exact options depend on which camera you're using, but if your camera offers a flatter or Log-style color profile, that's what you should look into when you want more control in editing.
Don't get caught up worrying about whether DJI, GoPro, and Insta360 use the exact same terminology. They don't.
What matters is understanding the workflow: capture as much useful information as possible, convert the footage correctly, then create the final look yourself.
Don't destroy your footage trying to make it look "pro"
This might actually be more important than anything else in this article.
Once you discover color grading, it's really easy to go way too far.
More saturation. More contrast. Darker blacks. Brighter skies. Greener trees. Orange dirt. Keep moving sliders until suddenly your mountain bike footage looks like a video game.
I've done it too.
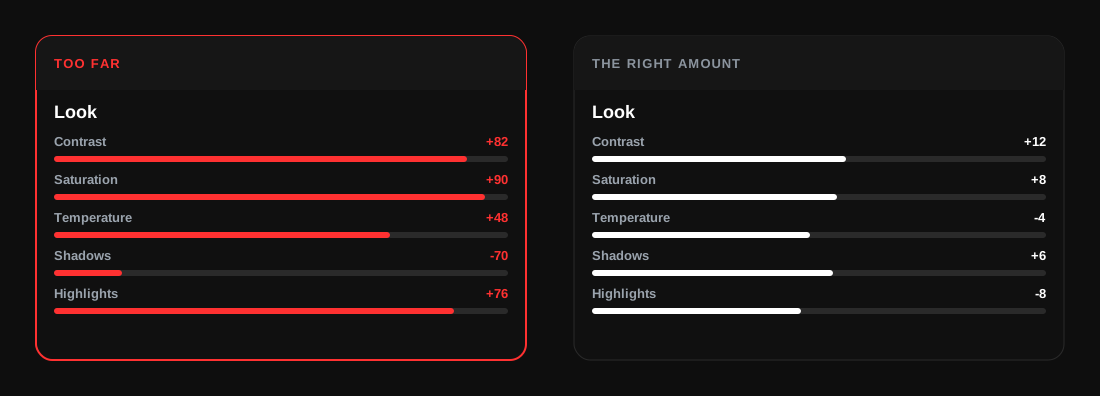
Back it off.
The goal isn't for someone to watch your video and say, "Wow, look at that color grade."
The goal is for them to say, "Damn, that footage looks good."
If the first thing you notice is the editing, there's a good chance you've gone too far.
The workflow I recommend
If you're completely new to this, don't overcomplicate it. Find the flat or Log profile available on your camera and shoot some test footage with it. Bring that footage into your camera's app or editing software and use the proper conversion for the profile you recorded.
Once you have a normal-looking starting point, make small adjustments. Get the brightness where you want it. Add or remove contrast. Adjust the temperature if the footage feels too warm or cold. Add some color if it needs it.
Then, if you want to go further, start playing with individual colors.
That's really it.
You don't need a $10,000 editing setup. You don't need to become a professional colorist. And you definitely don't need to understand every technical term before you start experimenting.
The more you do it, the better your eye gets.
Or just send us the footage
You bought your DJI, GoPro, or Insta360 because you wanted to ride, travel, film, and actually use the thing — not because you wanted to spend hours sitting in front of editing software.
That's exactly why I created EDITIT.pro.
You send us the footage. We go through it, find the best clips, edit everything together, color it, and send you back a finished video that's ready to share.
No learning professional editing software. No figuring out LUTs. No spending your night sorting through three hours of action-camera footage.